Managing configuration files is a core part of Linux server administration. Whether you’re adjusting web server settings, modifying firewall rules, or editing scripts, you’ll frequently work with text files directly from the terminal.
Linux provides multiple terminal-based text editors, but Nano and Vim are the most widely used. Both help you view, edit, and manage files efficiently, whether working on a local machine or a remote VPS over SSH.

Nano – Simple Text Editor
Nano is one of the easiest editors to use in Linux. It displays all essential shortcuts at the bottom, making it ideal for beginners and quick configuration edits.
Install Nano
For Debian / Ubuntu:
sudo apt update
sudo apt install nano -y
For CentOS / RHEL / AlmaLinux / Rocky Linux:
sudo dnf install nano -y
Open a File Using Nano
To open or create a file:
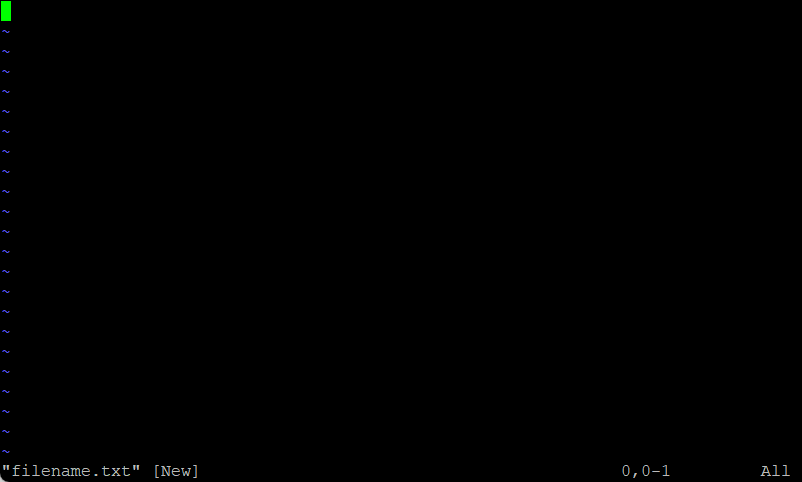
nano filename.txt
If the file doesn’t exist, nano will create it automatically when you save.
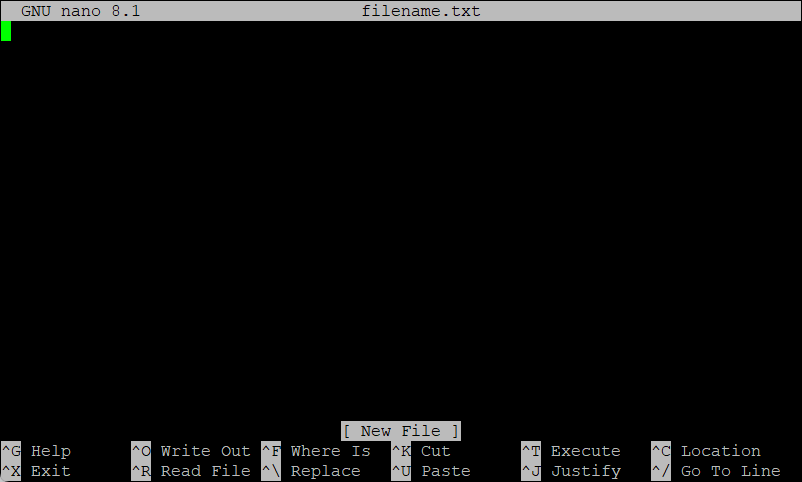
Example Nano Output
At the bottom, nano shows available actions such as saving, exiting, cutting, and pasting.
Useful Nano Shortcuts
Action Shortcut
Save the file Ctrl + O
Exit nano Ctrl + X
Cut text Ctrl + K
Paste text Ctrl + U
Search in file Ctrl + W
Go to line number Ctrl + _
Vim – Advanced and Powerful Text Editor
Vim (Vi Improved) is a highly efficient editor used by system administrators and developers. It has a steeper learning curve but offers powerful navigation, editing, and search features.
Install Vim
For Debian / Ubuntu:
sudo apt update
sudo apt install vim -y
For CentOS / RHEL / AlmaLinux / Rocky Linux:
sudo dnf install vim -y
Open a File Using vim
vim filename.txt
Vim opens in Normal Mode, where you can navigate through the file.
Vim operates in modes:
Normal Mode
Used for navigation and commands.
Return to Normal Mode anytime by pressing:
Esc
Insert Mode
Used for typing and editing text.
Enter Insert Mode by pressing:
i (insert before cursor)
a (append after cursor)
o (open new line)
Command Mode
Used for saving, quitting, and advanced actions.
Access it by typing:
:
Example Vim Editing Workflow
- Open file: vim file.txt
- Press i to enter Insert Mode
- Edit your text freely
- Press Esc to return to Normal Mode
- Save and exit : :wq
Common Vim Commands
Action Command
Save file :w
Quit :q
Save and quit :wq
Quit without saving :q!
Delete a line dd
Delete a word dw
Search text /keyword
vim provides powerful options for editing large configuration files, scripts, or logs quickly.
What These Editors Do
Nano
- Simple, user-friendly interface
- Shortcut-based editing
- Ideal for beginners and small changes
Vim
- Fast and efficient for large files
- Powerful search, delete, and navigation tools
- Preferred by advanced users and system administrators
Why These Tools Are Important
- Edit server configuration files like
/etc/nginx/nginx.conf,/etc/fstab,/etc/ssh/sshd_config - Fix errors instantly after deployment
- Modify scripts, environment files, or cron jobs
- View log files without installing a GUI
Both editors are essential for comfortable Linux administration.
Example Use Case
Edit an Nginx config file using nano:
nano /etc/nginx/nginx.conf
Or using vim:
vim /etc/nginx/nginx.conf
After editing, apply the changes:
systemctl reload nginx
Purchase a KVM VPS – Choose a KVM VPS plan from us that suits your requirements
KVM SSD Plans – https://crowncloud.net/ssd_kvm.php
NVMe SSD KVM VPS Plans – https://crowncloud.net/nvme_kvm.php
AMD Ryzen SSD KVM VPS – https://crowncloud.net/ssd_amd_ryzen_kvm.php
Intel i9 12900K SSD KVM VPS Plans – https://crowncloud.net/ssd_intel_i9_kvm.php