bookmark_borderHow to find my Addon IPs in CrownPanel

Hello!

In this week’s feature highlight, we look at How to find my Addon IPs in CrownPanel

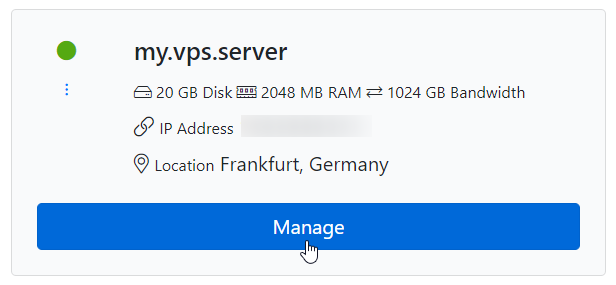
  1. Click on Manage on the VPS for which you wish to see the addon/additional IPs. addon
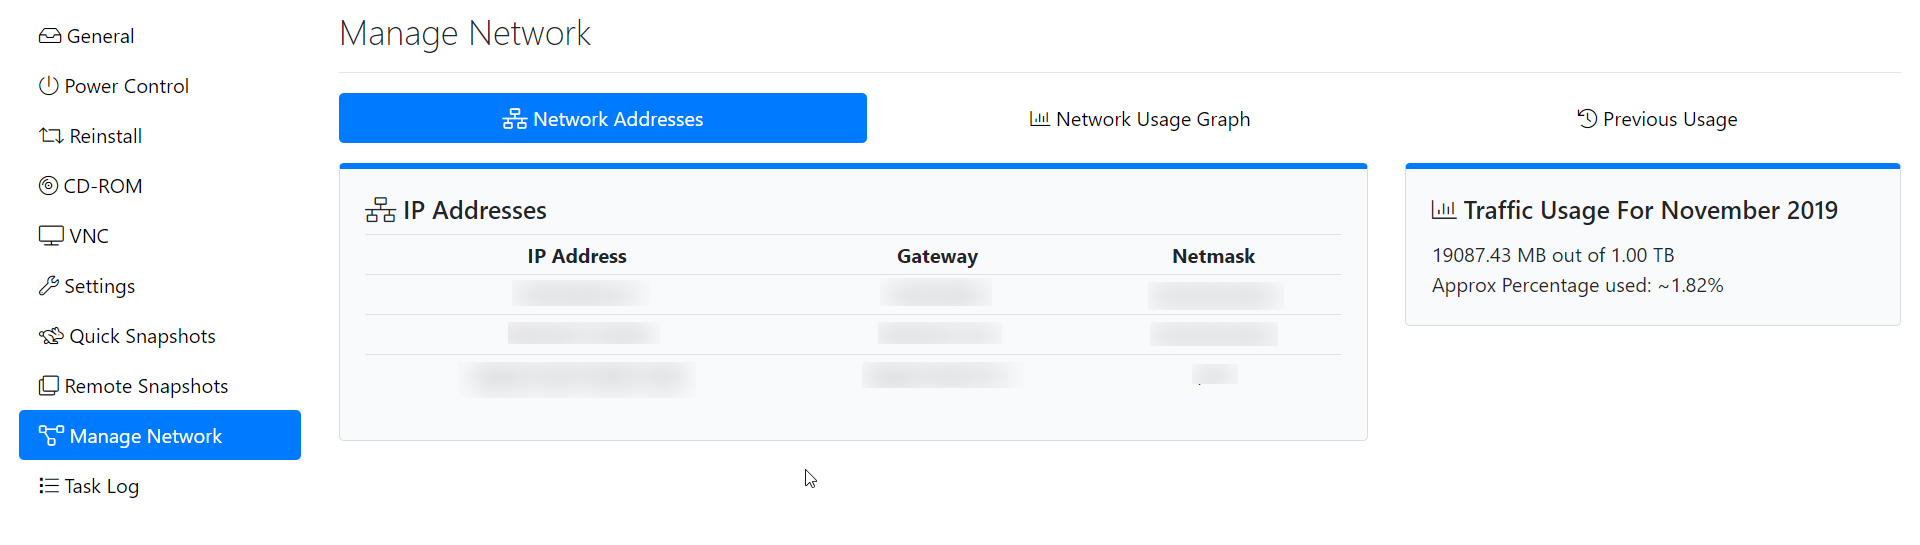
  2. Switch to the Manage Network tab.

NOTE: The user-interface design may be different on your side, but the tab-name will be the same, Manage Network.

addon
  • Here, You will find the IP Addresses allocated to your VPS, their Netmask and Gateway Addresses as well. addon

OpenVZ

If you are on a OpenVZ Based VPS, you can automatically Add (configure) all IPs to your VPS interface by clicking on the Reconfigure Networking option.

addon

KVM

If you are on a KVM based VPS, You would need to manually configure the addon-IPs to your VPS interface as needed, we have guides available to help guide you through the process for this,

If you are using CentOS (6, 7 or 8), please refer Configure additional IPv4 to CentOS.

If you are using Debian or Ubuntu please refer Configure additional IPv4 to Ubuntu.

If you are using Ubuntu 18.04 and beyond please refer Configure additional IPv4 to Ubuntu using Netplan.

bookmark_borderIncrediblePBX 2021 Template now available

Hello!

Today we take a look at our newest available template, IncrediblePBX 2021

One of the most significant changes in this new template is that the new version of IncrediblePBX is based on Debian 10 compared to the previous edition which was based off CentOS 7.

  1. First, Open a Support Ticket at the client area requesting to add the Debian based IncrediblePBX2021 template to your account.
  2. Now, IncrediblePBX can be installed via the re-install option in the control panel, you can find it under Debian menu with the label Deb-IncrediblePBX2021, for Instructions on how to re-install click here.
  3. Next, SSH into the server to complete the remaining installation steps. It is an interactive process from here on and the system will prompt you for some inputs to complete the configuration.

NOTE: The first IP Address accessing the IncrediblePBX server is whitelisted and to access the server again the same IP address is required, we recommend you to use a VPN, or have a static IP configured on your local system to access the server remotely anytime.

Note: Users can always whitelist more IPs as they need and/or disable the firewall.

Screenshots,

Accessing The IncrediblePBX Admin Panel

To manage your IncrediblePBX instance through a web browser you first need to setup the admin password,

To setup a password for the Admin Panel — login SSH into the server as the root user and issue the following command,

./admin-pw-change

Once the password is set – Open the browser and enter the following URL,

http://server-ip-address/

Login credentials,

  • Username – admin
  • Password – use the password that you have set in the previous step.

This would conclude the installation of Debian based IncrediblePBX on CrownPanel.

If you face technical difficulties, kindly reach out to us via Support Ticket.

bookmark_borderUsing SSH keys with your KVM VPS on CrownPanel

Hello!

In this week’s feature highlight, we look at how to use SSH keys with your KVM VPS on CrownPanel.

SSH (Secure Shell) is a widely-used protocol for interacting with remote servers for configuration and general usage. SSH keys provide a more secure way of logging into a server with SSH than using a password alone.

Here just a few easy steps to add a new key and use it.

Click on “SSH Keys” in the navbar,

Click on “New Key” to add a new SSH key,

Once the key is added, switch to the “VPS List” from the navbar,

Click on the “Manage” button beside the VPS you wish to manage,

Switch to the “Reinstall” tab and you can now select your SSH key,

Done!


bookmark_borderNow manage all your snapshots under one interface

Hey There!

We’re happy to announce a new feature in CrownPanel to help make managing snapshots easier, The panel now supports managing all of your snapshots together under one interface.

This feature is very helpful in identifying and managing Snapshots when you have multiple Snapshots or multiple VPS with a number of snapshots.

To view Snapshots in one place,

  • Login to CrownPanel
  • And you will find a new option in the header called “Snapshots”, click on it to view all of your Snapshots.

The snapshot list feature will also receive a number of updates in the coming days, including renaming, deletion and more! All under one page.

Stay tuned for further updates!

bookmark_borderEnabling TUN/TAP, PPP and FUSE modules on OpenVZ VPS

Hello!

In this week’s feature highlight, we look at how to enable the TUN/TAP, PPP and FUSE in our control panel.

It’s easy to enable the TUN/TAP, PPP and FUSE modules from the VPS management portal. Just login to your crownpanel.

1) Login to your VPS management portal(https://crownpanel.com/)

2) Click on Manage button.

openvz

3) Now select Setting to open the module setting

openvz

TUN/TAP Module

To enable the TUN/TAP module, click on Re-enable TUN/TAP.

openvz

To verify the module, access the server through SSH and run the following command:

cat /dev/net/tun

If the output is “File descriptor in bad state” it means that TUN/TAP is enabled. If the output is “No such device” it means TUN/TAP is not enabled.

PPP Module

To enable the PPP module, click on Re-enable PPP.

openvz

To verify the module, access the server through SSH and run the following command:

/usr/sbin/pppd

You will receive a message asking for the password or some garbage characters like ~ÿ}#À!}!}!} }4}”}&} }%%% } } }%.

FUSE Module

To enable the FUSE module, click on Re-enable FUSE.

openvz

Stay tuned for further updates!

bookmark_borderImprovements to Dark Mode in our Control Panel

Hello!

As part of our constant process of development and improvement of our in-house control panel, we decided to revisit one of the most subtle yet most “seen” feature, the dark mode theme.

Over the past weeks, we’ve had a look at the color palette used in our dark mode theme and found a couple of areas which we can improve on for a better user experience.

The first thing apparent to us was, how “bright” our text was, using #FFFFFF wasn’t the best idea here,

Super Bright Text (Old)

Going ahead with a lighter font was the solution to apply here, after which the text is far more easier on the eyes,

Not-So Super Bright Text (New)

Beyond the most apparent change with the font color, we’ve made some subtle changes around the control panel, including fixing a few lines of text to render clearly in dark-mode as well.

We hope the changes made reflect well on your end as well and give you a better experience in our control panel with the dark-mode theme.

As always, our support team is available and is always open for feedback and suggestions which we can incorporate into our control panel and services to further improve them for you! 🙂

Wishing you all the best for this year and stay tuned for more!
– Team CrownCloud.

bookmark_borderUbuntu 20.04 KVM Template Updated

Hello!

For this New Year, we’ve updated our templates to ensure quick deployment of VPSes with the latest available version of the operating system, We have updated the Ubuntu 20.04 Template for our KVM based plans. The update has been made available on all host-nodes, so any new VPS setup will have the latest.

You can refer to the following guide to install the operating system on KVM based VPS’s,

https://wiki.crowncloud.net/?Reinstalling_your_kvm_vm_on_crownpanel

Stay tuned for further updates!

bookmark_borderDebian 9 KVM Template Updated

Hello!

As part of our monthly cycle of updating templates to ensure quick deployment of VPSes with the latest available version of the operating system, We have updated the Debian 9 Template for our KVM based plans. The update has been made available on all host-nodes, so any new VPS setup will have the latest.

You can refer to the following guide to install the operating system on KVM based VPS’s,

https://wiki.crowncloud.net/?Reinstalling_your_kvm_vm_on_crownpanel

Stay tuned for further updates!