Let’s Encrypt makes it incredibly simple and free to secure your websites with HTTPS. When combined with Nginx, it becomes one of the easiest and most reliable ways to protect user data, improve SEO, and eliminate browser security warnings. This guide explains everything you need to know about using Let’s Encrypt SSL with Nginx in a clean and beginner-friendly way.
What is Let’s Encrypt?
Let’s Encrypt is a free, automated, and open certificate authority (CA) that issues SSL/TLS certificates to help secure websites with HTTPS. It’s trusted globally and is perfect for anyone hosting their own website or application.
Key Features of Let’s Encrypt SSL
- Free & Automated Certificates – Issue and renew certificates without paying any fees.
- Modern TLS Security – Protects users with strong encryption and security standards.
- Seamless Integration with Nginx – Works perfectly with Certbot’s Nginx plugin.
- Automatic Renewal – Renew certificates every 90 days with no manual steps.
- Trust & Browser Compatibility – Recognized by all major browsers and operating systems.
- Supports Multiple Domains – Secure multiple hostnames or subdomains easily.
- Open-Source & Transparent – Fully open ecosystem ideal for privacy-focused setups.
- Lightweight for Servers – Uses minimal system resources.
- Improves SEO & Performance – Enables HTTPS, HTTP/2, and better ranking.
Why Use Let’s Encrypt with Nginx?
- No Cost – Full SSL encryption without buying certificates.
- Simple Setup – Certbot configures everything automatically.
- Perfect for Self-Hosted VPS – Great for Linux admins, developers, and hosting providers.
- Builds User Trust – Shows the secure padlock instead of “Not Secure”.
- Compliance & Best Practices – Meets modern security requirements.
- Supports All Nginx Use Cases – Static sites, reverse proxies, APIs, and web apps.
- Easy Integration with CI/CD – Works smoothly with automated deployments.
- Reliable Renewal System – Certificates renew automatically in the background.
System Requirements
- Operating System – Debian 12, Ubuntu 22.04, Rocky Linux 9, AlmaLinux 9, CentOS Stream
- Web Server – Nginx (stable or mainline)
- Packages Needed –
certbotandpython3-certbot-nginx - Ports to Open – HTTP (80) and HTTPS (443)
- DNS Requirement – Domain pointed to server’s public IP
- Memory – 512 MB minimum (1 GB+ recommended)
- Disk Space – Less than 100 MB required
Step-by-Step Installation Debian 13
We will use the recommended Snap package manager to install Certbot, ensuring you always have the latest version.
Install Snapd
Snap is a robust package manager that simplifies the installation of complex applications like Certbot.
apt update
apt install snapd
Enable Snap core services (Debian sometimes needs this).
systemctl enable --now snapd.socket
Install and Refresh Core Snap Components
snap install core; snap refresh coreInstall and Start Nginx
If Nginx is not already installed on your server, do so now and ensure it’s running.
apt install nginx
systemctl start nginx
systemctl enable nginx
Create a Simple Test Site
For Certbot to verify domain ownership and configure Nginx correctly, the web server needs to be running and configured to serve your domain. We will create a simple placeholder page now.
First, create the directory for your website:
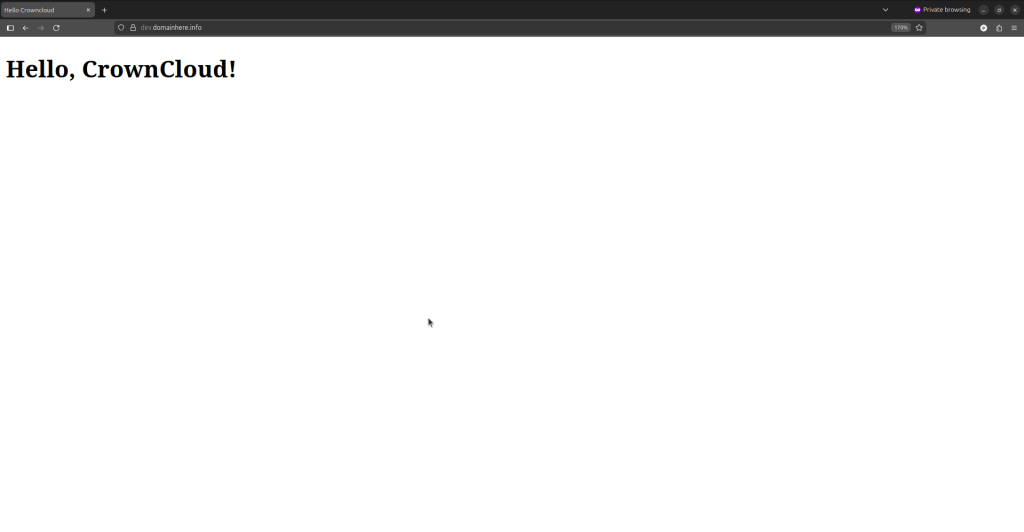
mkdir -p /var/www/dev.domainhere.infoNext, create a simple index.html file inside it. We will use the echo command to quickly add content:
echo 'Hello, CrownCloud!' > /var/www/dev.domainhere.info/index.htmlFinally, ensure your Nginx configuration (usually in /etc/nginx/sites-available/default or a custom file for your domain) points to /var/www/demo as the root directory and reload Nginx.
Run the following commands to set proper ownership and permissions for your website directory:
chown -R www-data:www-data /var/www/dev.domainhere.info
chmod -R 755 /var/www/dev.domainhere.info
Create Nginx Configuration for Your Domain.

Create a file,

nano /etc/nginx/conf.d/dev.domainhere.info.conf
Paste:

server {
    listen 80;
    server_name dev.domainhere.info;

    root /var/www/dev.domainhere.info;
    index index.html;

    location / {
        try_files $uri $uri/ =404;
    }
}

Test and reload Nginx.

nginx -t
systemctl reload nginx

Install Certbot
The Certbot client is the tool that handles all interaction with the Let’s Encrypt CA. The --classic flag is necessary for the Nginx plugin to work correctly.
snap install --classic certbot
Link Certbot to /usr/bin (required):

ln -s /snap/bin/certbot /usr/bin/certbot
Run Certbot and Secure Your Domain

certbot --nginx -d dev.domainhere.info
Note: Replace http://dev.domainhere.info with your actual domain name.
During this process, Certbot will ask you for an email address (for urgent renewal and security notices) and to agree to the Terms of Service.
What Certbot Does Automatically:
- It finds your Nginx configuration file.
- It adds a new server block to verify domain ownership.
- It obtains the certificate from Let’s Encrypt.
- It configures Nginx to use the new SSL certificate.
- It adds an automatic HTTP-to-HTTPS redirect.
Verify Installation
After Certbot finishes, open your browser and navigate to your domain using https://. You should immediately see the secure padlock icon!
Installation on Linux OS (Ubuntu based OS):
You can find installation instructions in the CrownCloud Wiki Guides, and it follows:
Purchase a KVM VPS – Choose a KVM VPS plan from us that suits your requirements.
KVM SSD Plans – https://crowncloud.net/ssd_kvm.php
NVMe SSD KVM VPS Plans – https://crowncloud.net/nvme_kvm.php
AMD Ryzen SSD KVM VPS – https://crowncloud.net/ssd_amd_ryzen_kvm.php
Intel i9 12900K SSD KVM VPS Plans – https://crowncloud.net/ssd_intel_i9_kvm.php