Hello!
In this week’s feature highlight, we look at How to Install Incredible PBX from CrownPanel

- Open a Support Ticket with us requesting to add the Incredible PBX 2020 template to your account.
- IncrediblePBX can be installed with a 1-Click re-install option in the CrownPanel and you can find it under CentOS re-install option with the label incrediblepbx2020, for Instructions on how to re-install you can click here
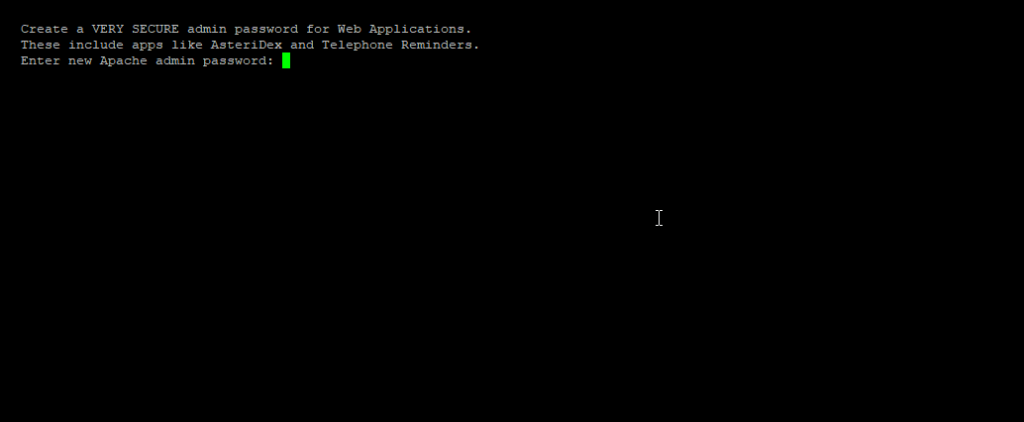
- Next, SSH into the server to complete the remaining installation steps. It is an interactive process from here on and the system will prompt you for some inputs regarding the configuration.
NOTE: The first IP Address accessing the Incredible PBX server is whitelisted and required the same IP address to access the server again, we recommend you to use a VPN, or have a static IP configured on your local system to access the server remotely anytime.
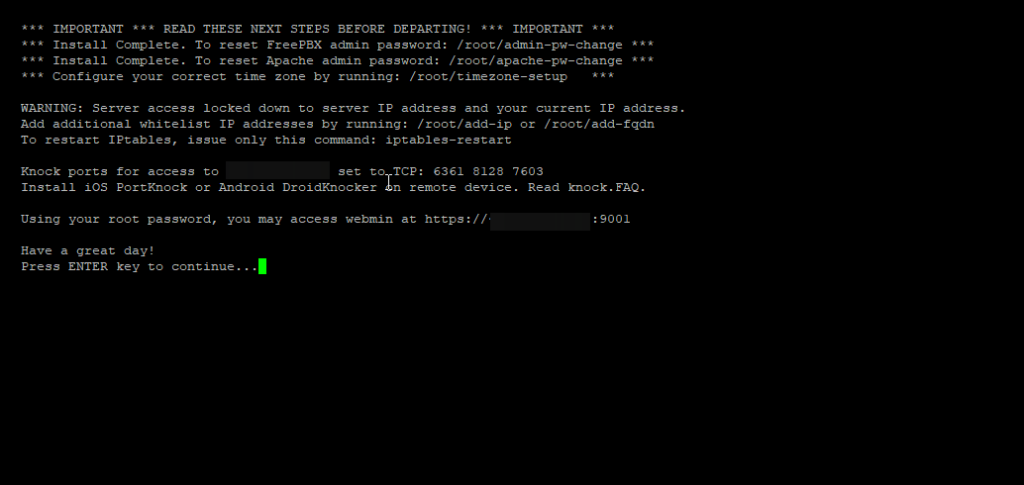
Screenshots,


Once the installation process is completed you will be presented with a final configuration window

To access Incredible PBX Admin Panel
Open the browser and enter the following URL,
http://server-ip-address/Login credentials,
- Username – admin
- Password – what you have set in Step 3[root password].


To access Incredible PBX Webmin
Open the browser and enter the following URL,
https://server-ip-address:9001Login credentials,
- Username – root
- Password – what you have set in Step 3[root password].


This would conclude the installation IncrediblePBX on CrownPanel.
If you face technical difficulties, kindly reach out to us via Support Ticket.