
Discover the power of cPanel, the ultimate web hosting control panel designed to elevate your online presence effortlessly. With its intuitive interface and streamlined automation tools, cPanel empowers you to manage your website and server with ease.
Login to cPanel: Log in to cPanel using the provided credentials.
Domain Management: Ensure your domain is pointed to your hosting server. You can do this by updating the domain’s nameservers to your hosting provider’s nameservers.
Create Addon Domain (if needed): If you’re hosting multiple domains on one cPanel account, you’ll need to add each domain as an addon domain through the “Addon Domains” section in cPanel.
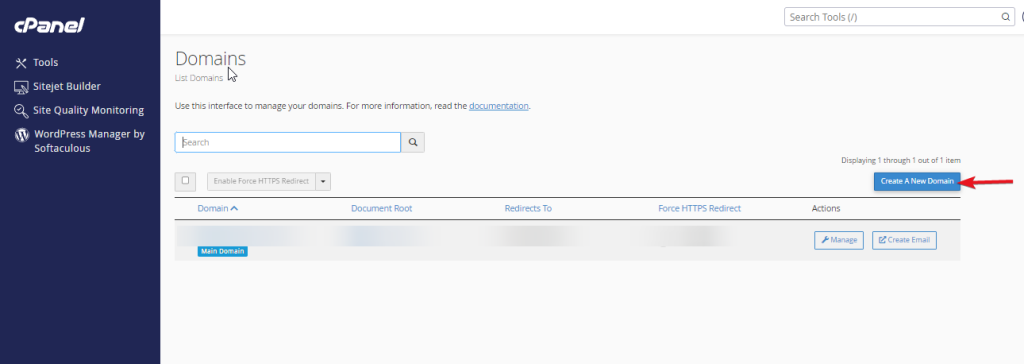
To add a new Domain, go to Domains section and select Domains option,

Next, Click on Create A New Domain button,
Now Enter your newly purchased domain, and be sure to uncheck the Share document root option if you don’t want the New Domain to share the same document root as your primary domain.
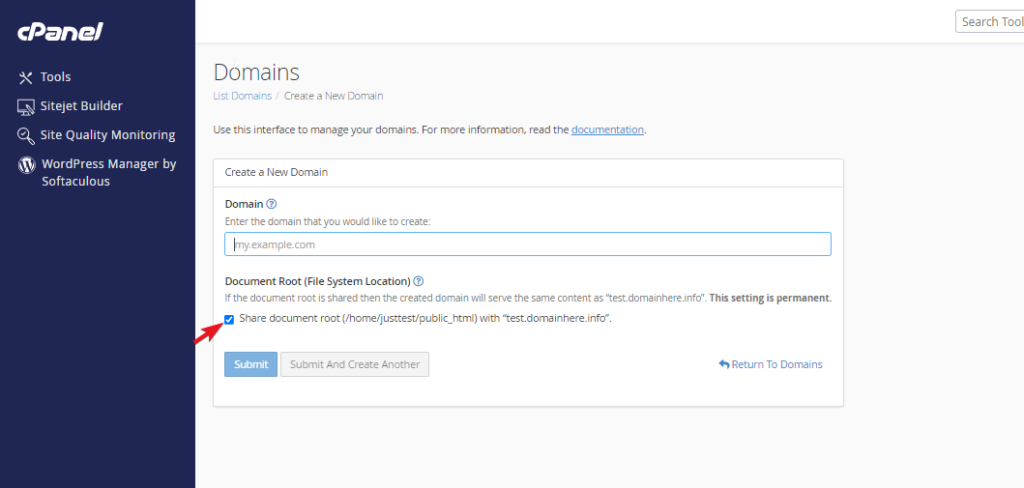
Once you’re done setting up your domain options, click Submit and wait a few seconds for your changes to process.
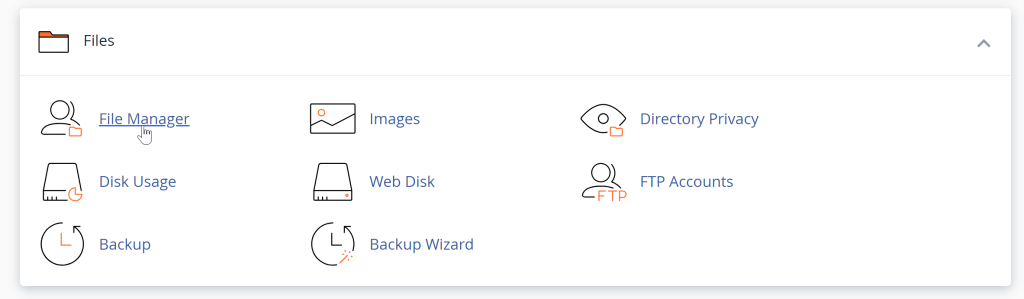
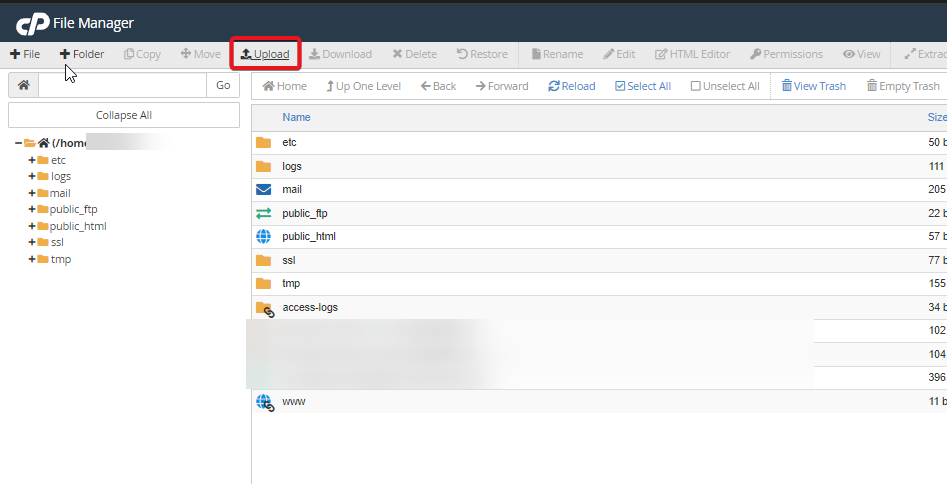
File Management: Navigate to the “File Manager” in cPanel and upload your website files.
In the home directory, you should see a folder named public_html. Double-click on it to enter the directory.
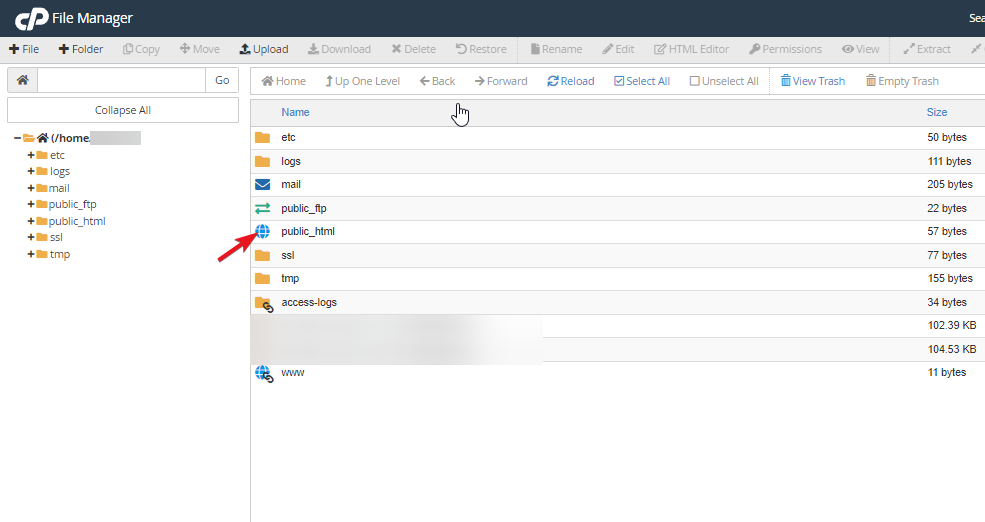
You can upload files individually or compress them into a zip file and then upload.
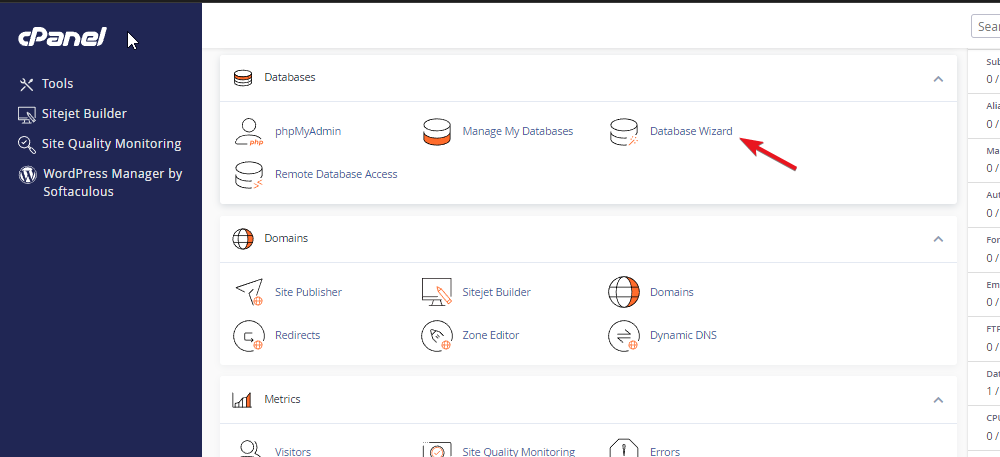
Create a Database (if needed): If your website requires a database (like WordPress), create one through the “MySQL Database Wizard” in cPanel.
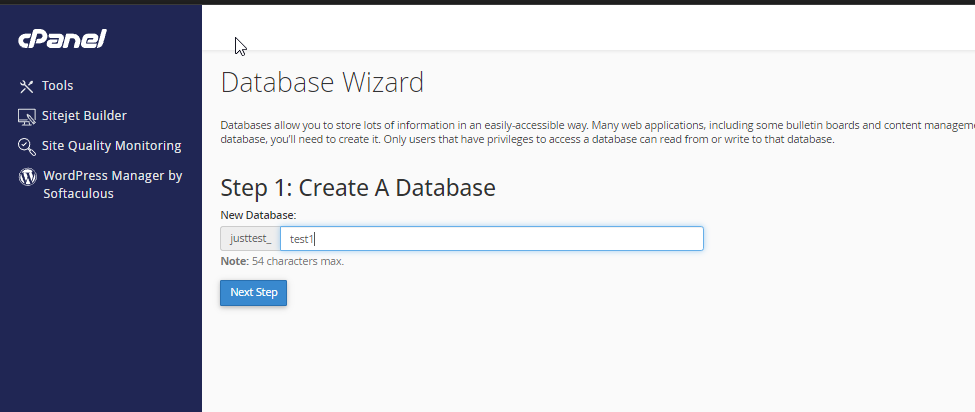
Create a Database: Enter a name for your database (e.g., test) and click “Next Step”.
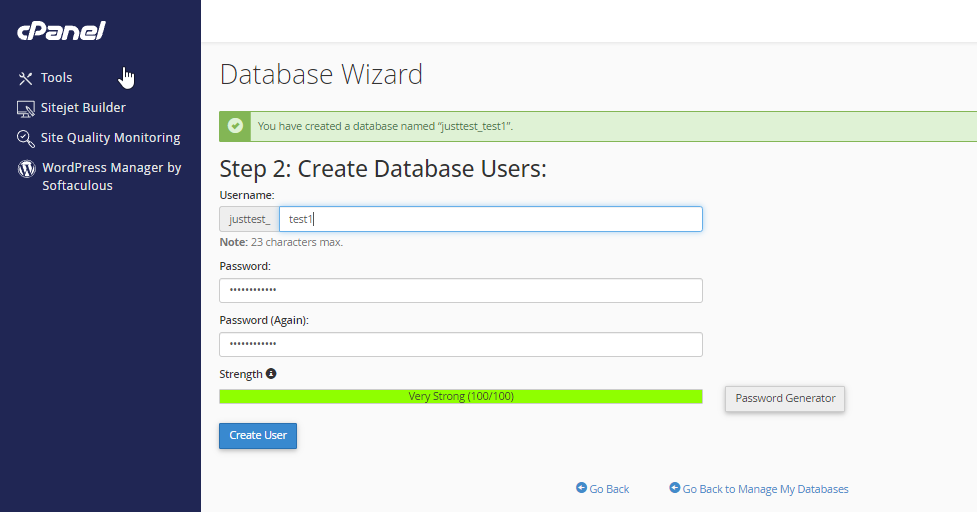
Enter a username for the database user and a strong password. Click “Create User”.
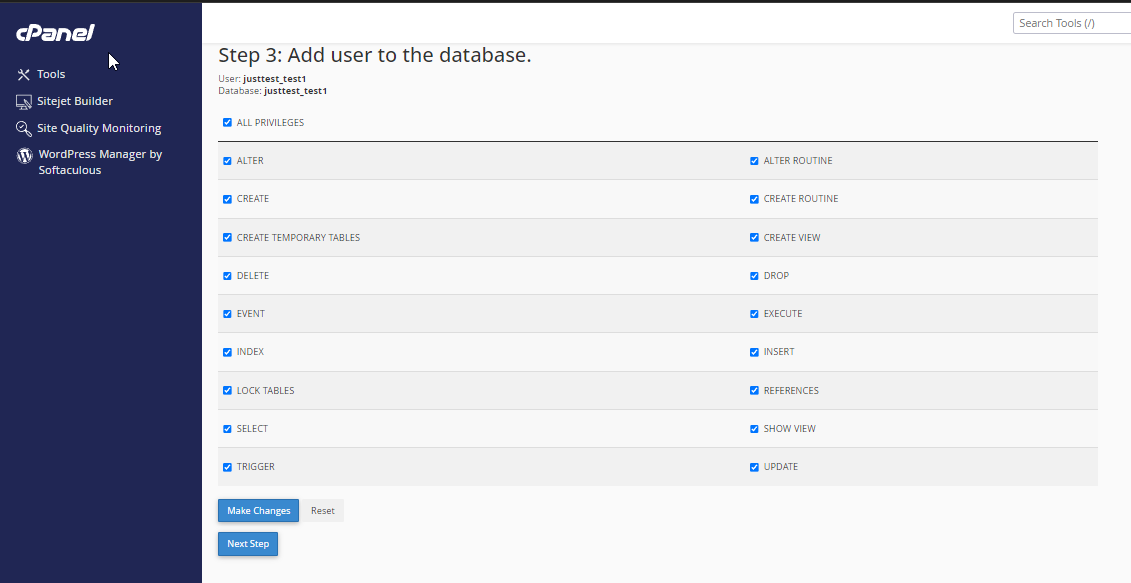
 Select the database user you just created from the dropdown menu and select the Set Privileges: Choose the privileges you want to grant to the user for the database. If you’re not sure, you can select “All Privileges”. Click “Next Step”.
WordPress Installation: You can install WordPress from the cPanel, using Softaculous. Checkout our guide [Click Here]
Database Setup: If your website uses a CMS like WordPress, edit the configuration file (usually named wp-config.php for WordPress) and input the database information you created earlier.
Email Setup (optional): If you want to set up email accounts associated with your domain, you can do so through the “Email Accounts” section in cPanel.
Instruction to create an Email Account in cPanel → Click Here
SSL Certificate Installation (optional): If you want to secure your website with HTTPS, you can install an SSL certificate through the “SSL/TLS” section in cPanel.
Instruction to SSL Certificate Installation → Click Here
DNS Configuration: After setting up your website, make sure to configure your DNS settings properly to ensure your domain resolves to the correct server.
Testing: Once everything is set up, test your website to ensure it’s functioning as expected. You can do this by entering your domain name in a web browser.
Purchase a Hosting Plan: Choose a cPanel hosting plan from us that suits your requirements.
Discover our cPanel Hosting plans,
cPanel Shared Hosting: Click Here
cPanel Reseller Hosting: Click Here