Greetings,
We’re excited to announce that DirectAdmin Shared and Reseller Hosting is now available in Los Angeles, USA!
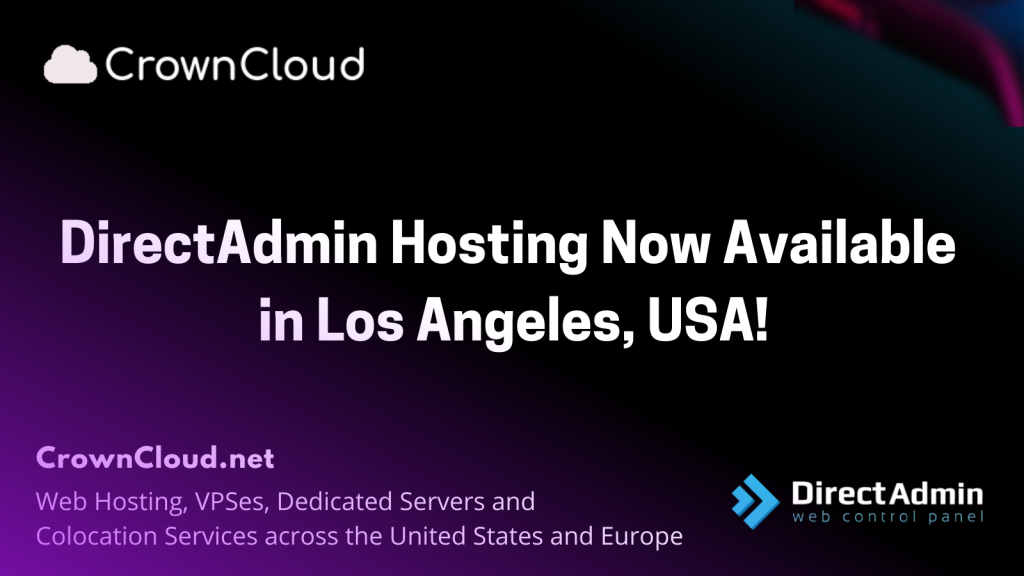
With our new Los Angeles location, you can enjoy faster connectivity, improved performance, and low-latency hosting for audiences across North America and beyond. DirectAdmin offers a lightweight, powerful, and user-friendly control panel designed for reliability and ease of use perfect for both website owners and hosting resellers.
What’s Included with DirectAdmin Hosting in Los Angeles?
- High-Performance Hardware: AMD Ryzen 9 7950X CPU