Hello!
In this week’s feature highlight, we look at how to set a label on a VPS in CrownPanel.
Labeling the product is come into very handy when you have multiple products and it is an identifier for your products to easily mark and/or group together.
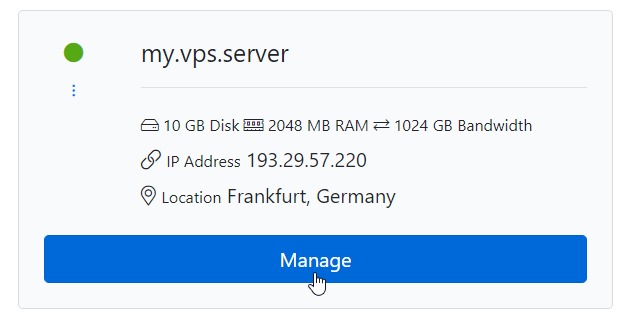
First, Click on the “Manage” button beside the VM you wish to Label
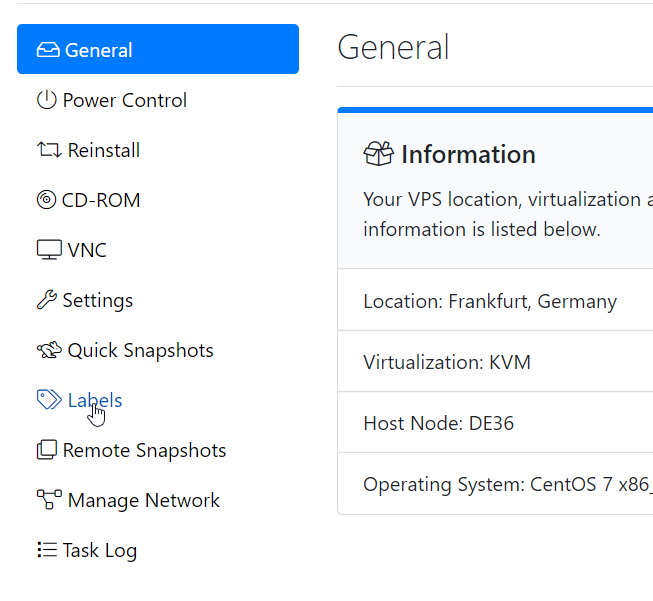
Next, Switch to the “Label” Tab.
Next, Click on Add Label to add the label to the VPS.
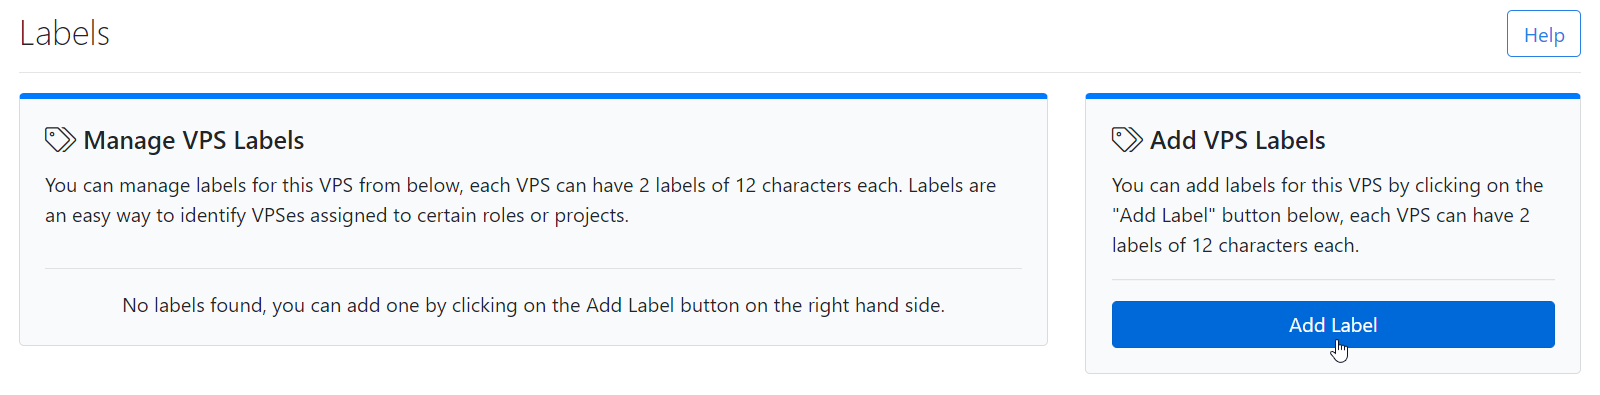
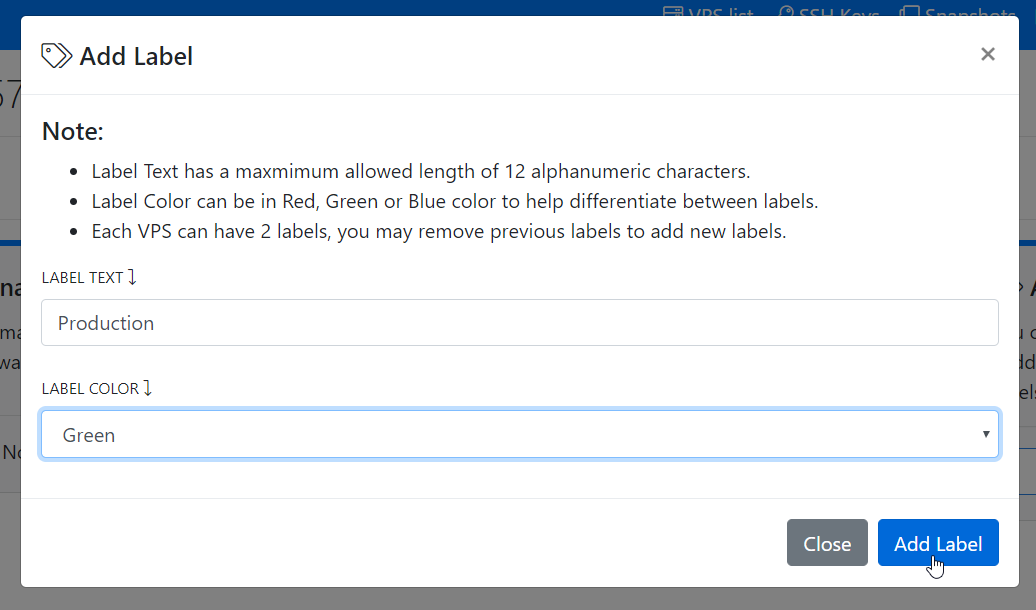
Here, you can fill in the Label Text and select the Colour you wish to use from Red/Green/Blue. Then, Click on Add Label to Confirm.
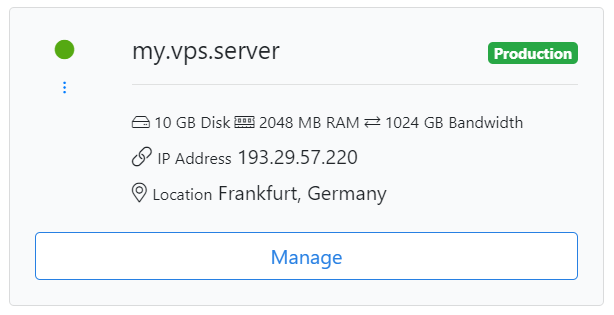
After setting a label on a VPS it will look like this,
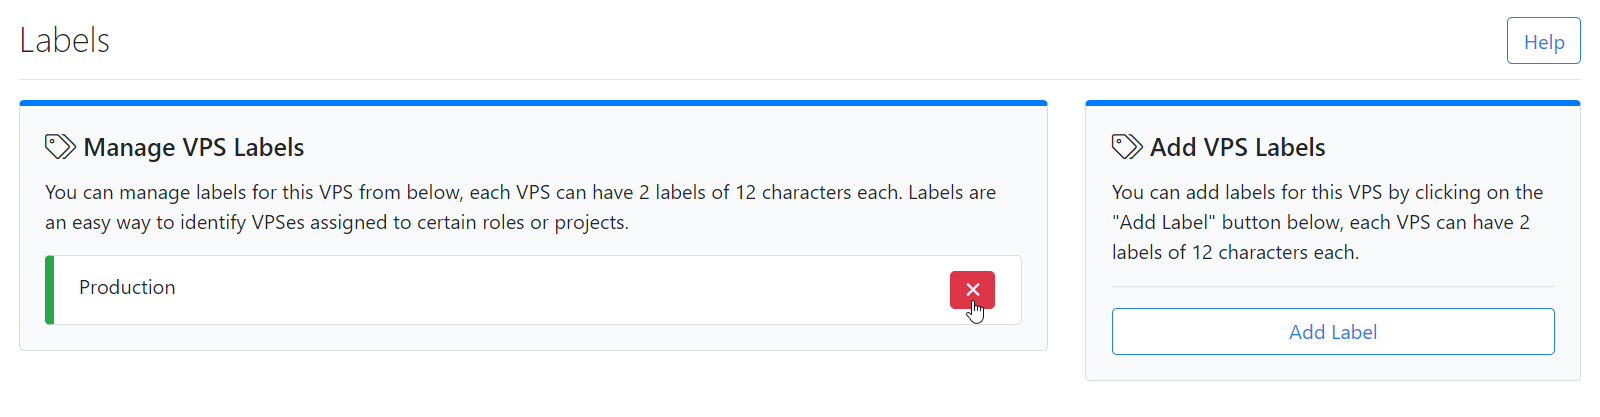
You can remove Label by clicking the Cross mark as shown in the below screenshot.
(Visited 139 times, 1 visits today)