Hello,
In this week’s feature highlight, we look at Install WordPress on Ubuntu 23.10
WordPress is one of the most popular website-building tools available out there. It is a simple way to get your online presence and perfect for those who do not know how to code and want a simple and effective way to share and build your story on the internet.
Prerequisites:
- Root access to your Ubuntu 23.10 server.
- LAMP Stack installed and running. Learn how to setup LAMP Stack.
Creating Database
Log into MySQL with the following command.
mysql -u root -pFirst, we’ll create a new database.
CREATE DATABASE wordpress_db;Next, create a new MySQL user account that we will use to operate on WordPress’s new database, with the username “wordpress_user”.
CREATE USER 'wordpress_user'@'localhost' IDENTIFIED BY 'password';Note: Replace “password” with a safe and secure password when creating the wordpress_user
Link the user and DB together by granting our user access to the database.
GRANT ALL PRIVILEGES ON wordpress_db.* to wordpress_user@'localhost';Flush the privileges so that MySQL knows about the user permissions we just added.
FLUSH PRIVILEGES;Exit out of the MySQL command prompt by using,
exitOutput:
root@crown:~# mysql
Welcome to the MariaDB monitor.  Commands end with ; or \g.
Your MariaDB connection id is 81
Server version: 10.6.7-MariaDB-2ubuntu1 Ubuntu 23.10

Copyright (c) 2000, 2018, Oracle, MariaDB Corporation Ab and others.

Type 'help;' or '\h' for help. Type '\c' to clear the current input statement.

MariaDB [(none)]> CREATE DATABASE wordpress_db;
Query OK, 1 row affected (0.003 sec)

MariaDB [(none)]> CREATE USER 'wordpress_user'@'localhost' IDENTIFIED BY 'password';
Query OK, 0 rows affected (0.005 sec)

MariaDB [(none)]> GRANT ALL PRIVILEGES ON wordpress_db.* to wordpress_user@'localhost';
Query OK, 0 rows affected (0.003 sec)

MariaDB [(none)]> FLUSH PRIVILEGES;
Query OK, 0 rows affected (0.003 sec)

MariaDB [(none)]> exit
Bye
Download and Install WordPress
Download WordPress.
wget -O /tmp/wordpress.tar.gz https://wordpress.org/latest.tar.gzUntar the downloaded WordPress file.
tar -xzvf /tmp/wordpress.tar.gz -C /var/www/htmlChange the permission of the site directory.
chown -R www-data:www-data /var/www/html/wordpressNavigate to your browser.
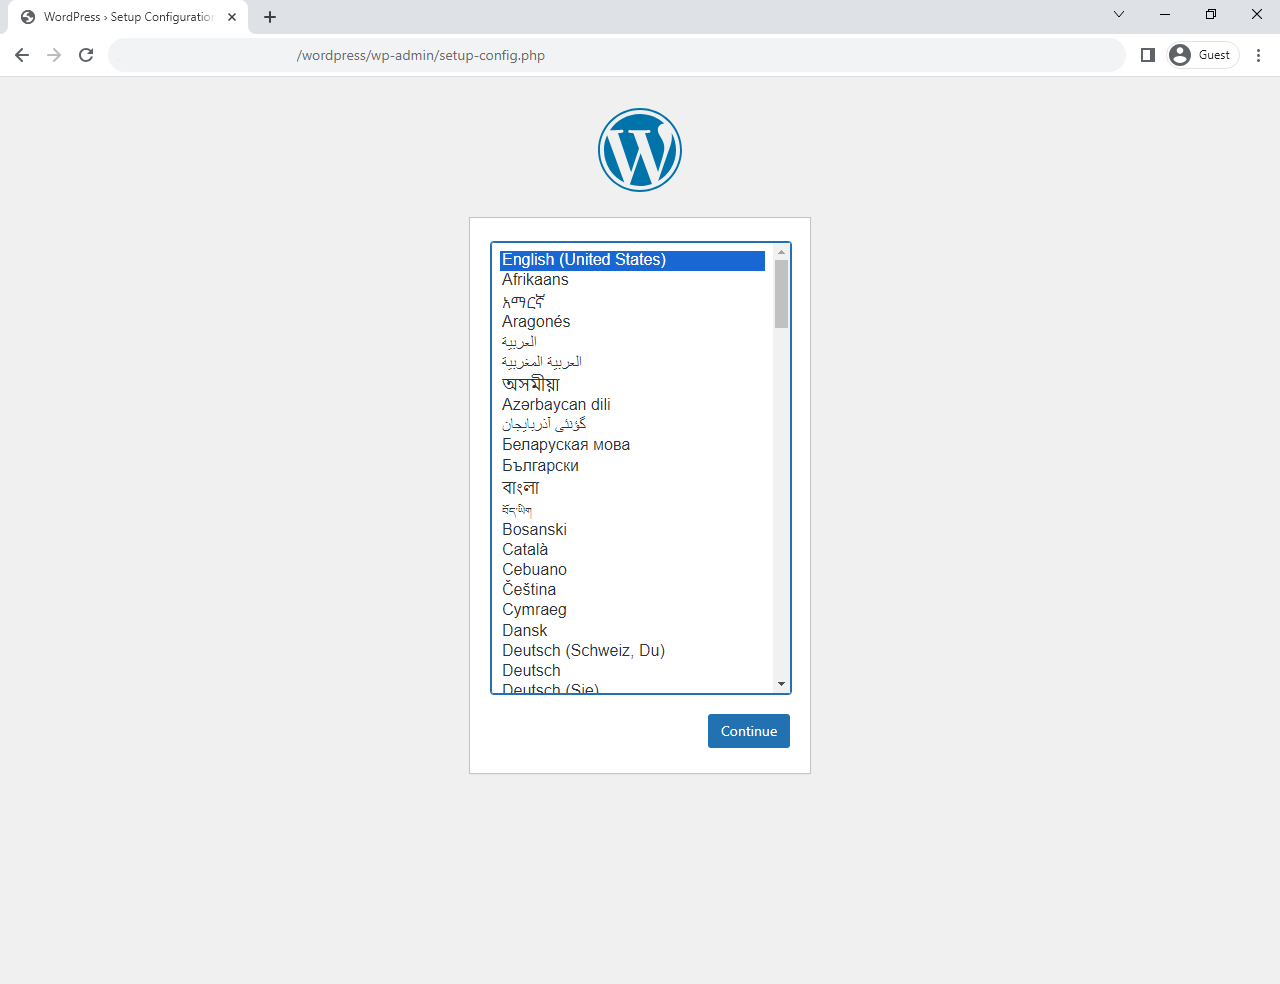
Start the WordPress installation by clicking on the Continue button.
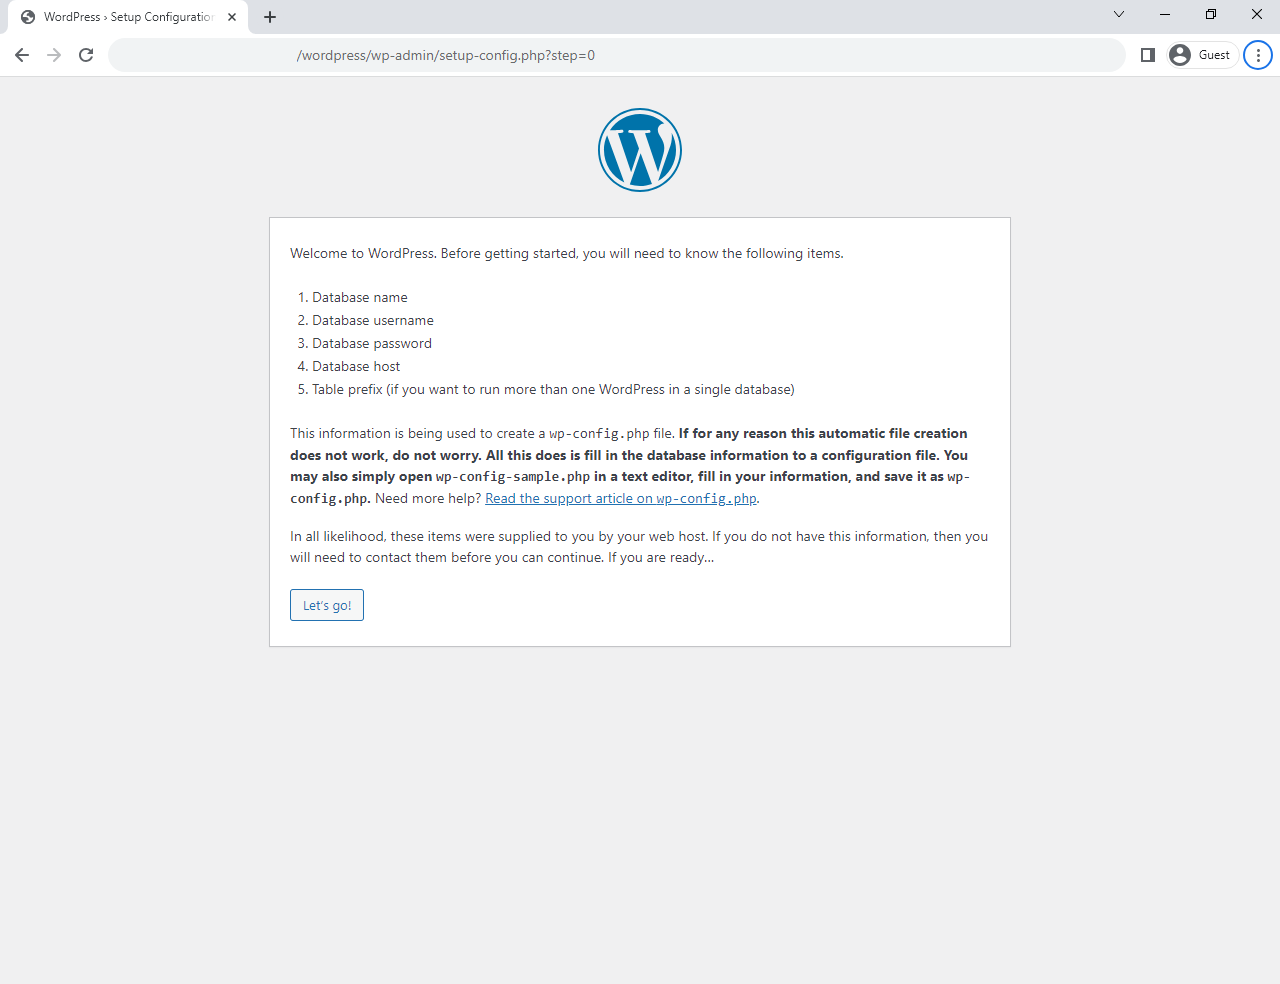
Enter the Database information that was setup earlier,
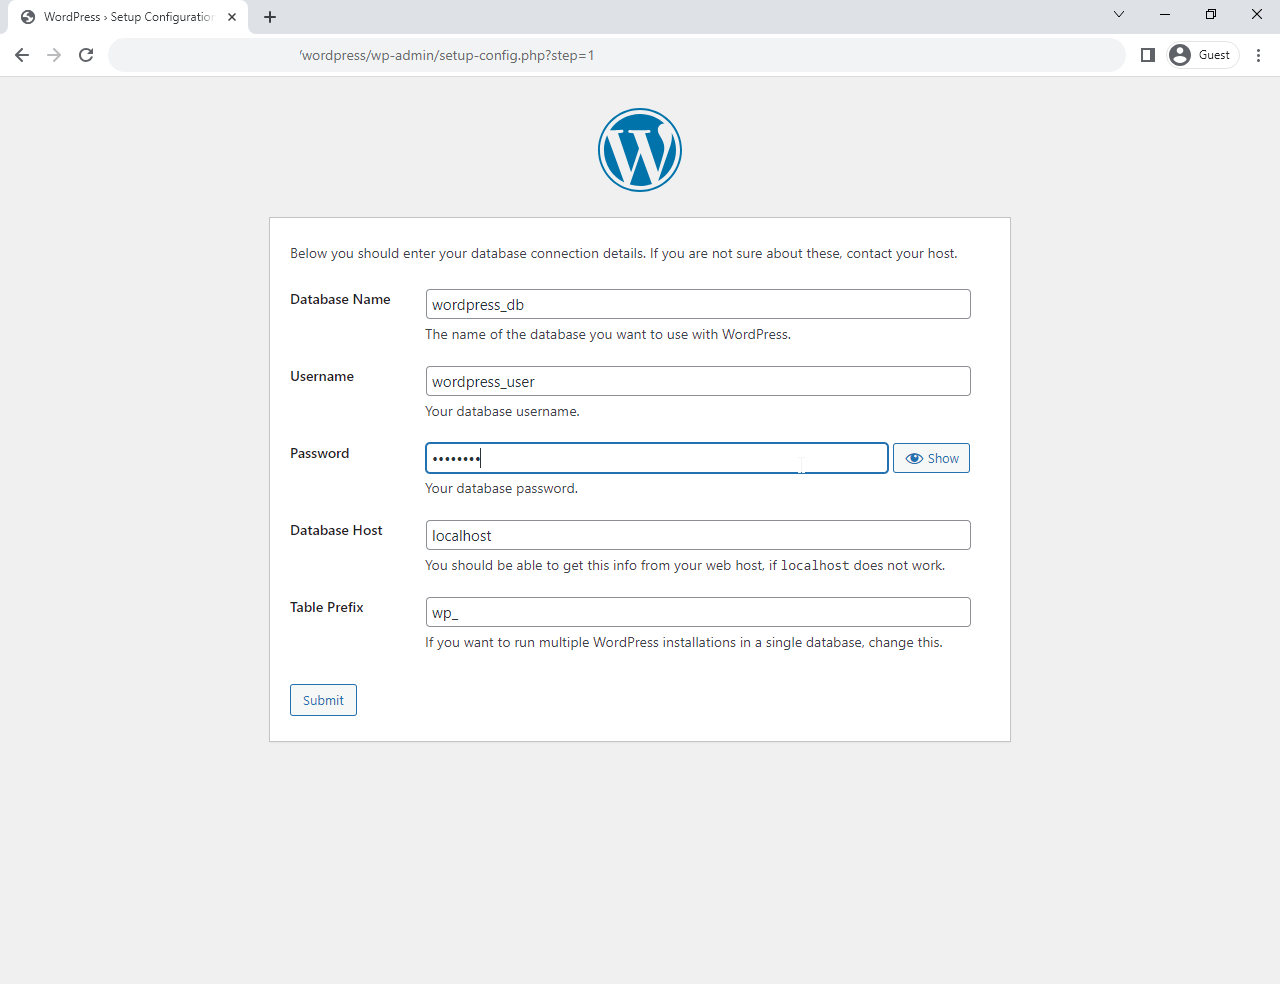
Click on Run the Installation button to proceed next,

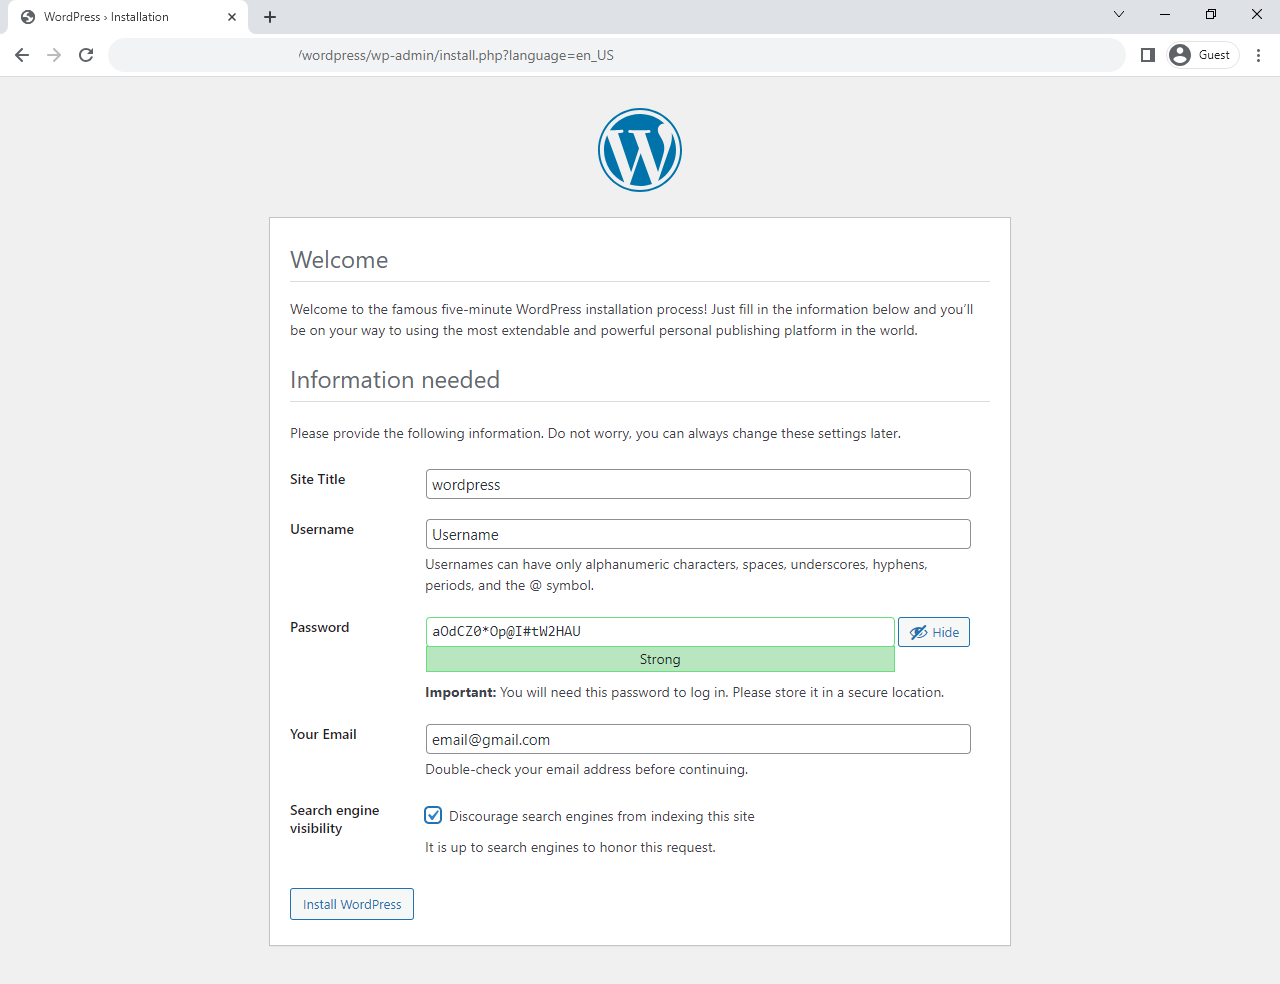
Enter the Site’s Name and create a new Admin account,
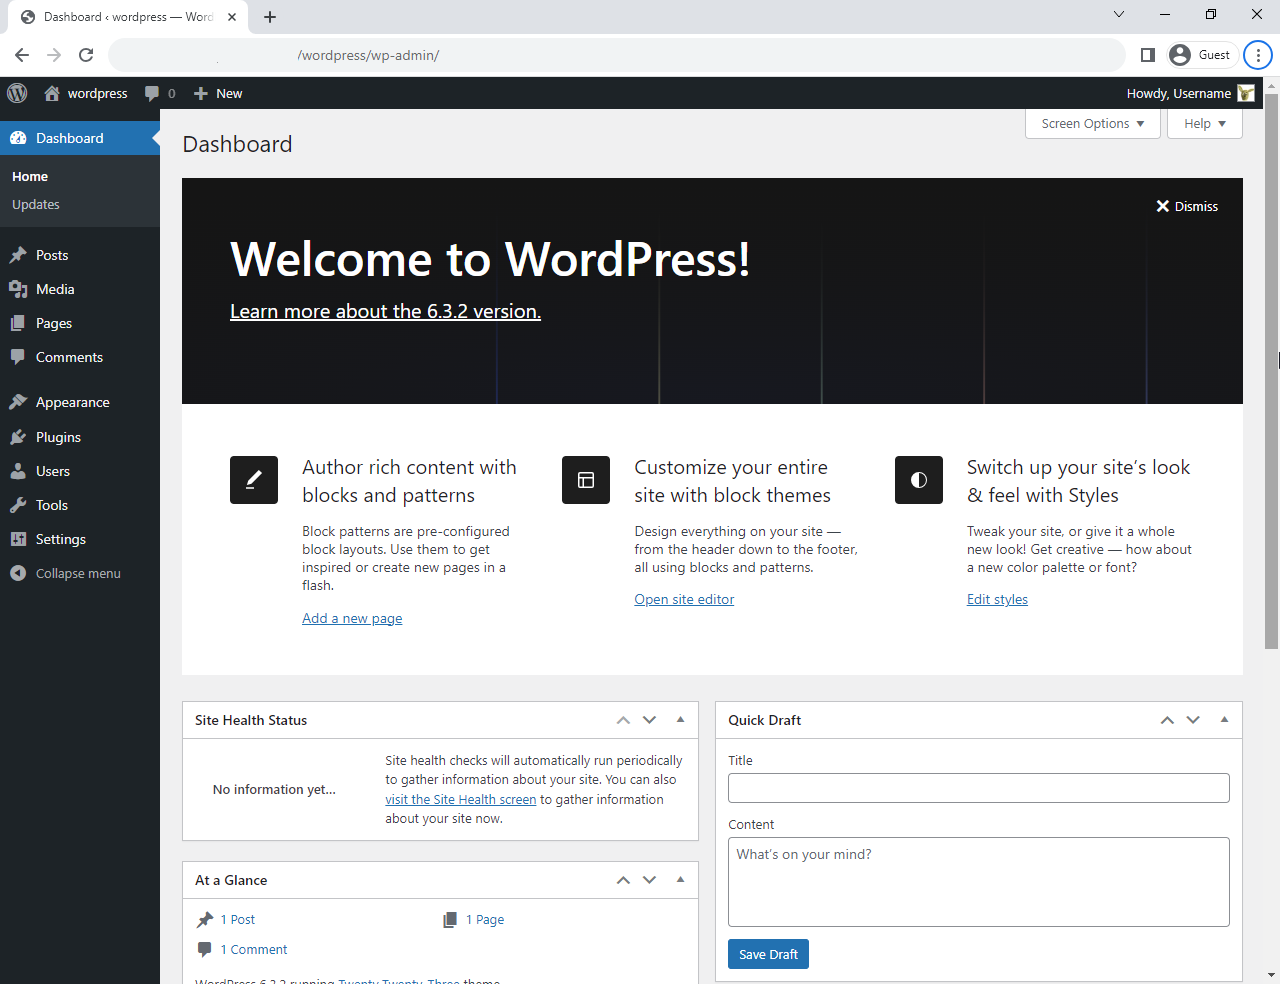
Once completed, login with the newly created Admin account and you’ll be greeted to Dashboard page.
This concludes the topic of installing the latest WordPress on Ubuntu 23.10 server.